Monday, February 17, 2014

Chicken Pesto

What you need:
1 Pkg. Pesto mix. (Jars of pesto are harder to find and so I got a packet and just did as the package directed)
1 pkg. Ranch dressing mix
Chicken Broth
4 Chicken Breasts

Put all ingredients into the crockpot cook on low for 6 to 8 hours or 3 to 5 hours on high. Checking every hour.


Tuesday, October 15, 2013

Halloween wreath


Need:
Wreath
Ribbon
"Boo" letters
Orange, white and purple acrylic paint.
White spider web

I got the white spider web, and ribbon from the dollar store and everything else from Hobby Lobby.
 Fall is my absolute favorite time of year...
I love the crisp air
the Carmel apples
Corn mazes
Haunted houses
Leave a changing everywhere
pumpkin carving
Thanksgiving
The fashion
& of course Halloween!

So this wreath was a year in the making...
I kept wanting to change a few little things about it and I finally have it up this year!


So here is my version of a Halloween wreath...


I first painted the "boo" orange.

Then I found some little pictures to copy onto the letters


 I didn't like how bright the letters were so I spray painted over them with a dark glazed color and it turned out perfect!


I wrapped the wreath with the white spider webb and stuck the black flowers into the wreath and wrapped the wire around the wood so it wouldn't fall out.
I ended up not using the spider
But I love that I got most of this from the Dollar Tree!

And there is my Halloween wreath!

Happy Canadian Thanksgiving

So my husbands family is all from Canada and Jared wanted to celebrate in some way but wanted to keep it simple and easy so we could still go to Cornbellys for our family home evening activity. So he searched online for some ideas and found this delicious meal and it was so easy I loved it!
Here was our lovely FHE/Canadian Thanksgiving meal.


What you need
1 box of stuffing
sliced turkey ( we got ours from Maceys service deli)
1 to 2 pkgs chicken gravy (depending on how much sauce you like)


Cook the stuffing as directed on the box.
Cook your gravy as directed on packet then set aside.
Then you need to grease the pan.
Next grab a slice of turkey and start putting some stuffing inside of it and roll it up like an enchilada and place it in the pan.
And repeat until the pan is full
 Then pour gravy over turky rolls and place in oven for 20 minutes at 350 Degrees
Serve with potatoes, salad and rolls.


Calzones


The hubs and I had some opened hunts spaghetti sauce and had extra pizza crust so my we had the brilliant idea to have calzones!
Jared is an amazing cook, and like I've said in a few posts he is extremely busy!
He was able to tare himself away from school work and make this delicious dinner.
Here is our version of calzones.


What you need..


It was a use what we have in the fridge kind of night.. 

(These are all approximations and you can get what you think is the right amount for you but I will give you the amounts I used)

What you need:
1 Pillsbury pizza crust (the one that pops when you open it, scares me every time haha)
1 pkg Pepperoni
Approx. 2 slices Ham
7 slices Bacon
2 C cheddar or mozzarella Cheese 
1 can Hunts spaghetti sauce (traditional)
1 can Pineapple
Parmesan Cheese
Pepper to taste

The first calzone had
Spaghetti sauce, pineapple, and lots of cheese pepperoni and a little bacon.

The second calzone had everything on it.
(My husband loves to add a bunch of things to his meals.)

So you have probably gathered that you can create your perfect calzone with whatever ingredients you want. I for one enjoy simple but Jared will experiment.


Then lastly place your calzones on the middle rack in the oven at 400 Degrees for 15 to 20 minutes.


Cut up both bacon and ham.

 Heat oven to 400 degrees.

Cut the dough to desired size.
(We were completely experimenting with this!
It doesn't look fancy but tasted delicious!)


Then the messy part is to fold it over and we added cheese to the top.


So good!
Thank you so much for visiting my blog!
Let me know what you thought.
Have a good one!

Thursday, September 26, 2013

Seasonal Candy Holders

I got this idea from one of the people I used to nanny for,
I don't know if this is what they did or they bought it already made but I loved the cute candy jars so I was feeling in the mood to do something crafty so I went on Hobby Lobbys website to see what their weekly deals were and I was in luck!
Both the candle holders and Glass decor were on sale for 50% off!
So I headed down there and got the two candle holders and glass jars for $22 bucks.
(the candle holders were originally 20 bucks each CRAZY! and the jars were 2 bucks normally so not bad)
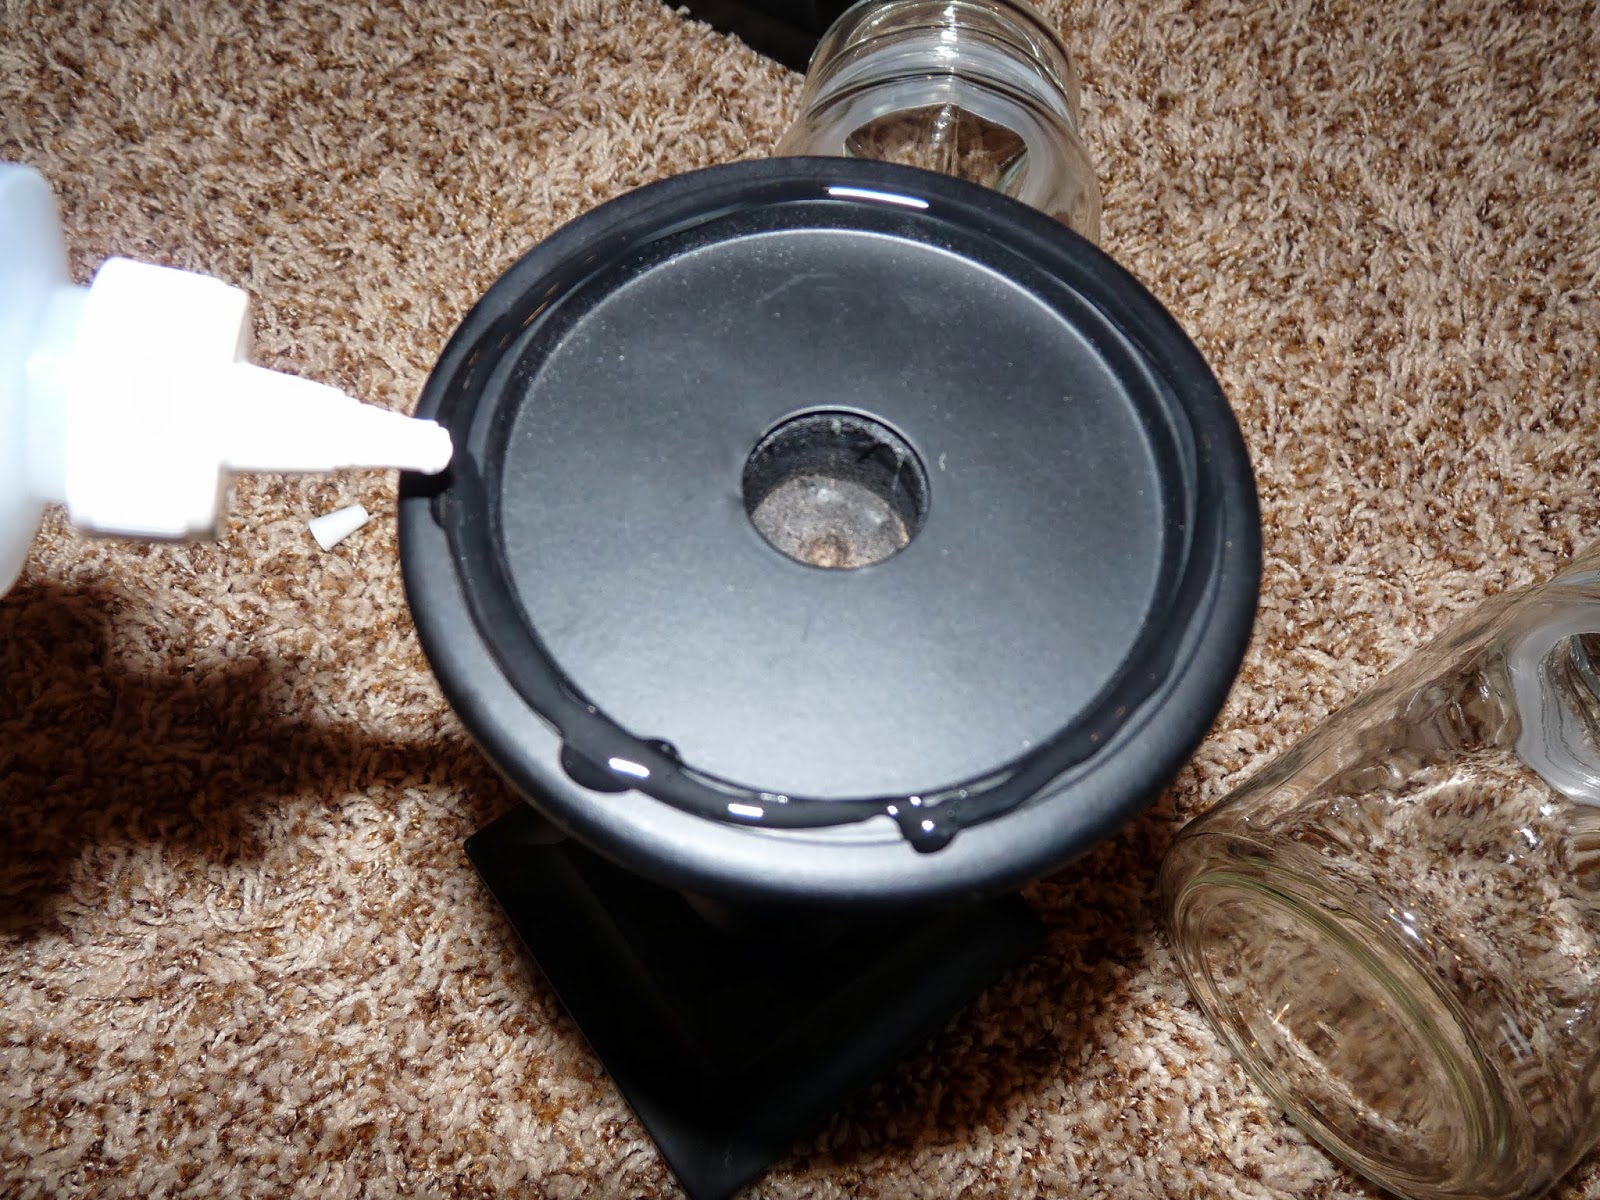
I used Tacky glue, already had it in my stash of glues

Then I put a ring of the glue on the top of the candle holder

And placed the jar on top.

I waited about 4-5 hours to let the glue dry.
(It wouldn't hurt to let it dry longer)


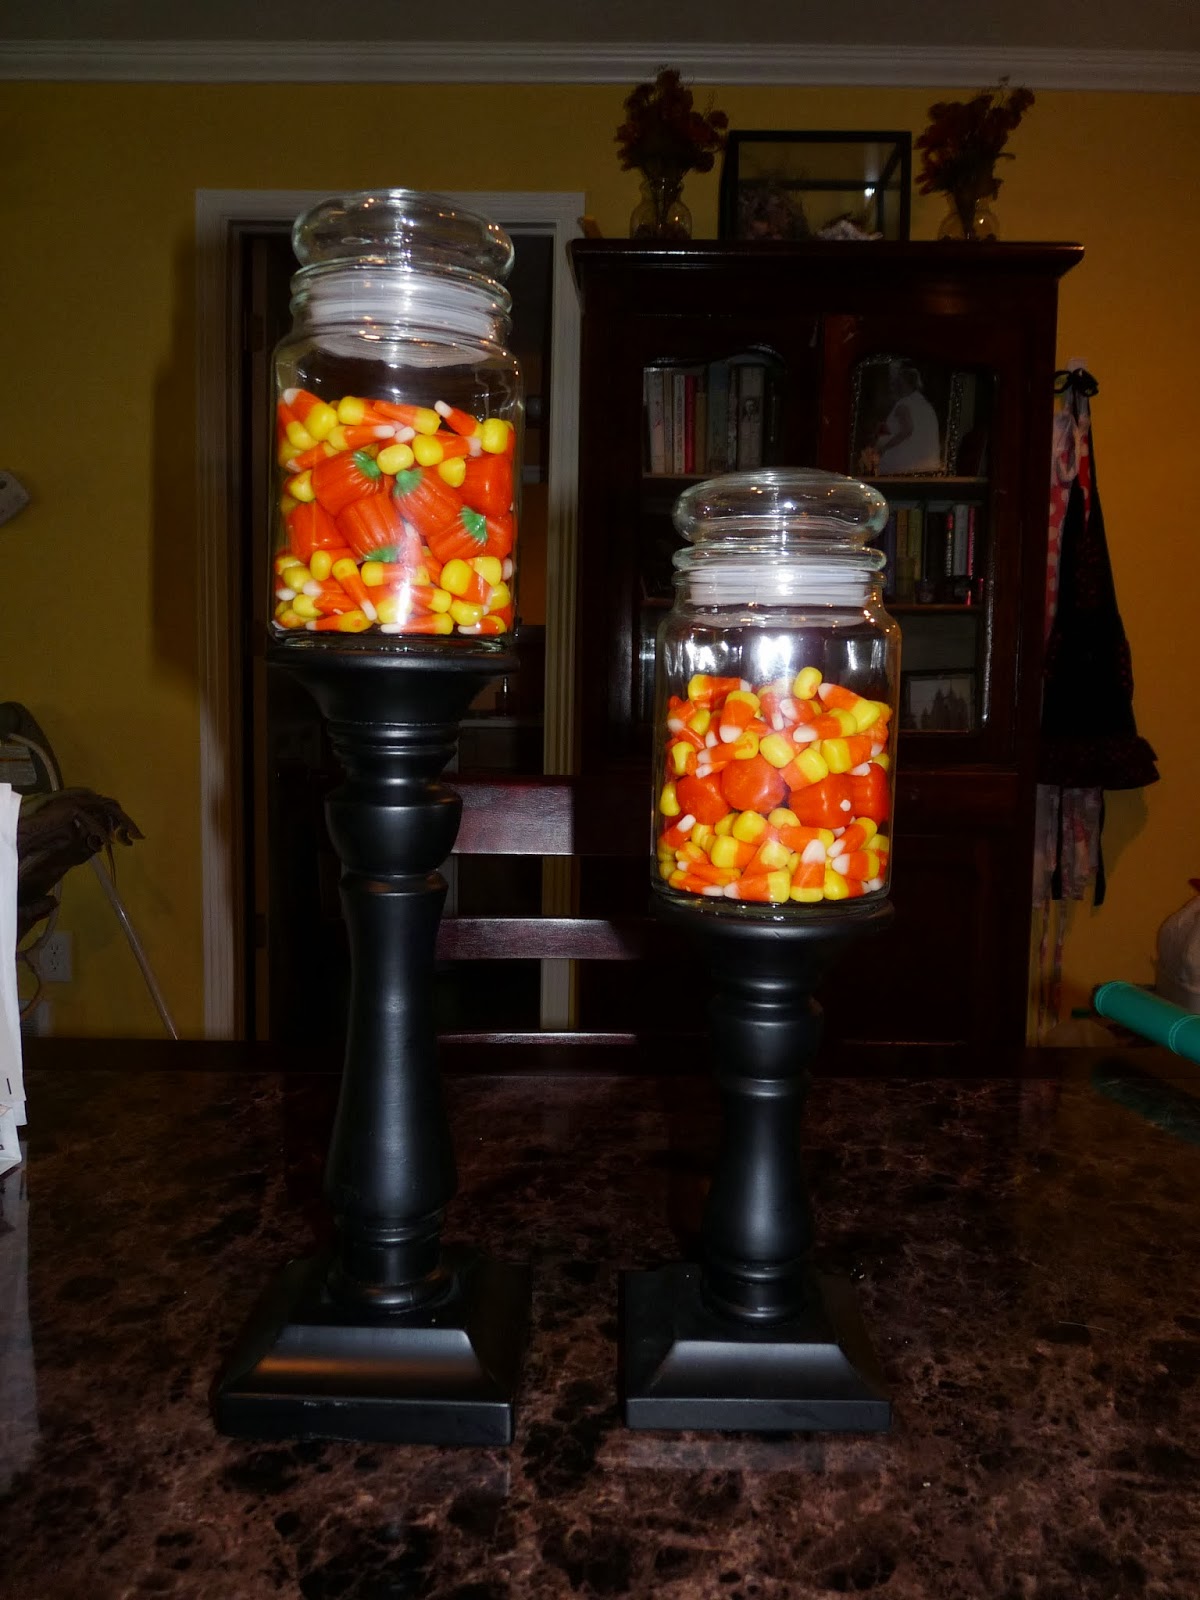
Then I put the candy of the season in.
Obviously Halloween candy!
I may add a ribbon later.

Tuesday, September 24, 2013

Necklace Organizer

So I have a ton of necklaces and no where to put them so I went to the handy dandy Hobby Lobby to see what they had.

I found a wood hanging thing on their wood isle
Some spray paint and I thought I'd try some crackle paint I took a couple tries to get it to work but I got there!!
I don't read rules very often so just an fyi you put a base coat on, for example, put satin spray paint on let it dry THEN put the crackle on top of it.. I did it the other way around but it was an easy fix,
 just put crackle on top of your main color.


I suggest painting on the grass that stain has been there for a year!!!


I measured to see where I should put my hanging strips
I did one in the center then realized I needed two so it wouldn't tilt with different sized necklaces.

And there's my fancy necklace organizer!