This is a recipe I tried from pinterest a while ago.
It has good flavor to it and a little spice from the green chilie tomatoes.
It has good flavor to it and a little spice from the green chilie tomatoes.
These are all ingrediants I had in my cupboard already so I whipped it up quick for a late dinner.
Need:
8 ounces pasta of choice(the regular recipe says angel hair but it doesn't matter)
2 cups chopped grilled chicken(or canned for quick and easy)
1 (10 3/4 oz) can cream of mushroom soup
1(10 3/4 oz) can cream of chicken soup
1 can (10 oz) of Diced tomatoes with green chilies undrained
8 ounces sour cream
Sprinkle mexican blend cheese on top.
Preheat Oven to 350
Boil Pasta as package directs and drain. Mix all ingrediants except the cheese together.
Add ingrediants to cooked pasta and put in 9x13 pan.
Cover with foil
Bake for 30 minutes or until hot and bubbly.
Then take out of the oven and sprinkle cheese ontop and return to oven until melted


I didn't have Mexican Blend so I just used this cheese.


I was very lazy and very hungry that night so I mixed it in the pan I was baking it in..

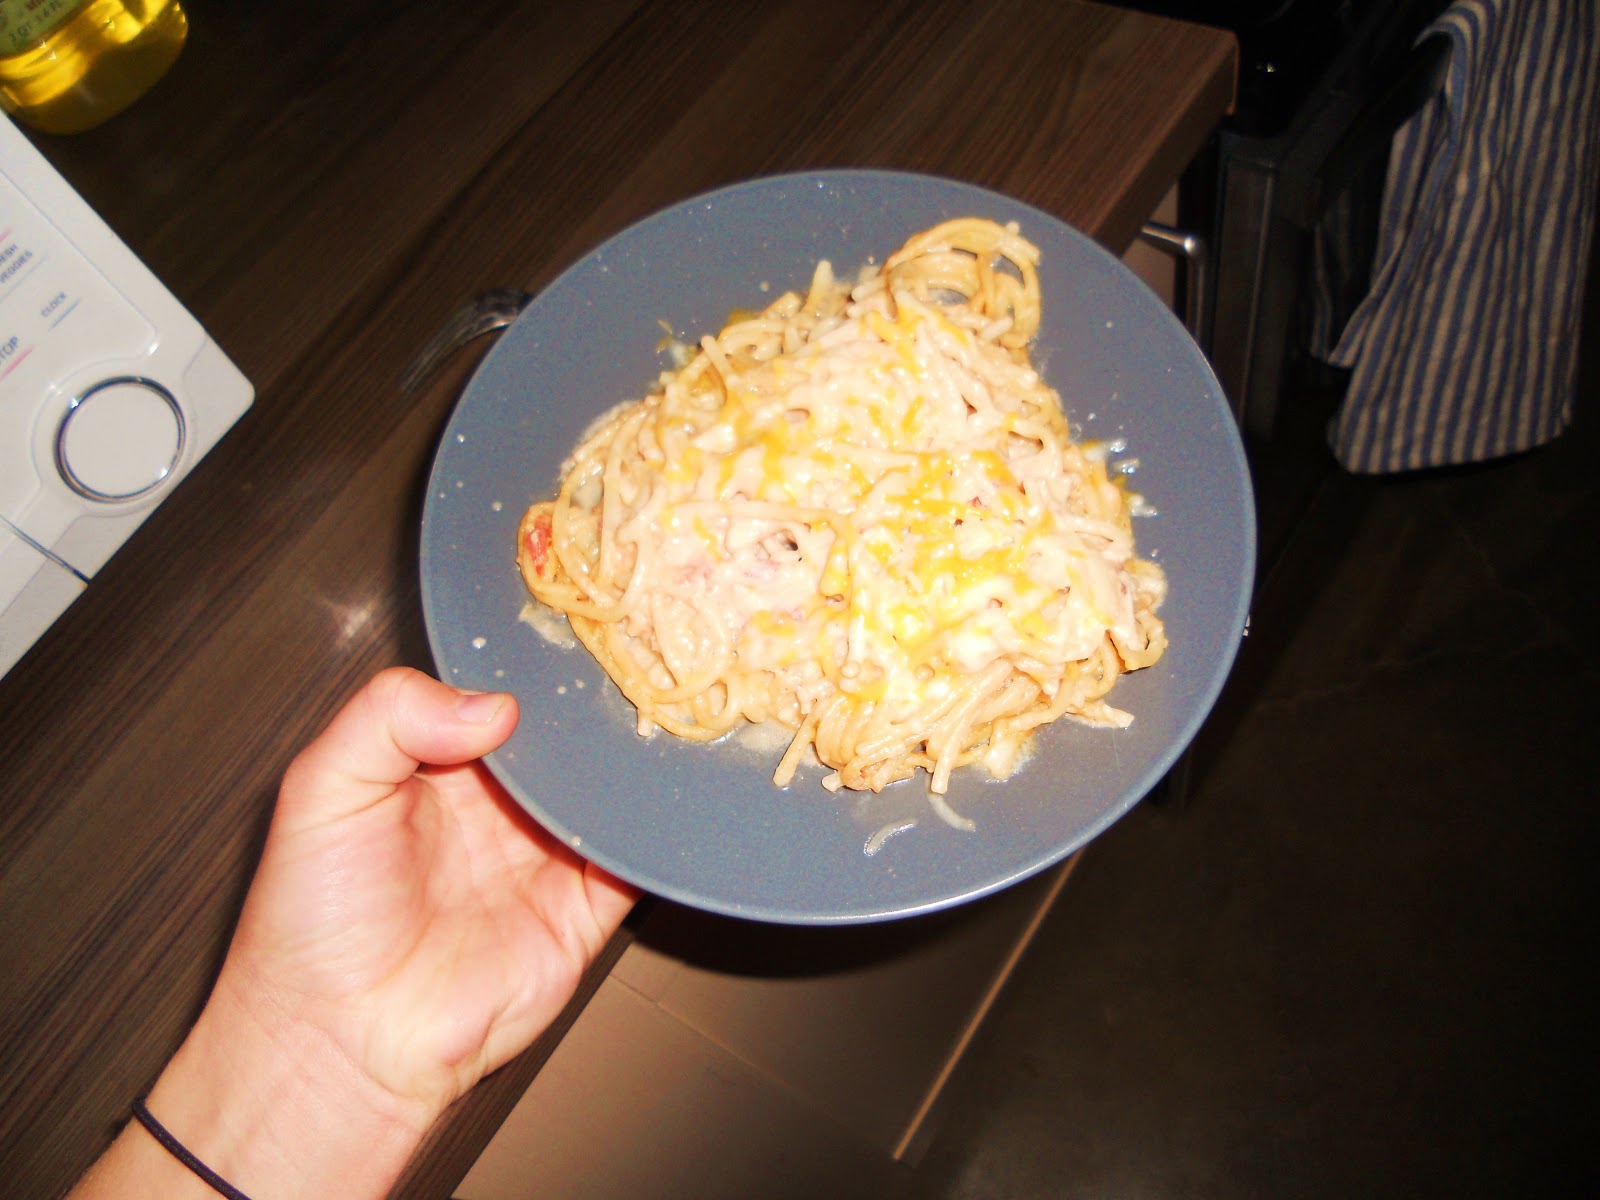
Not the greatest picture haha but it tastes delicious!!
I've made this 3 times and one of the times I made it, it did not have enough noodles
so make sure if your do more creamy to do more noodles!!
Or it will taste like a creamy spicy mess.